I've had some emails about this tutorial I thought I re-posted after I made a guest appearance, but couldn't find it either, so here she be! This shirt has been one of Divine's favorites and it's so simple that I feel like I could whip up a few for all the girls around here in no time. Another option is to do the waistband a contrasting color, or a v-neck, or even a slight scoop neck in the back (just widen the neckline in the back). Oh, the fun you can have! ;)
✂ ✂ ✂
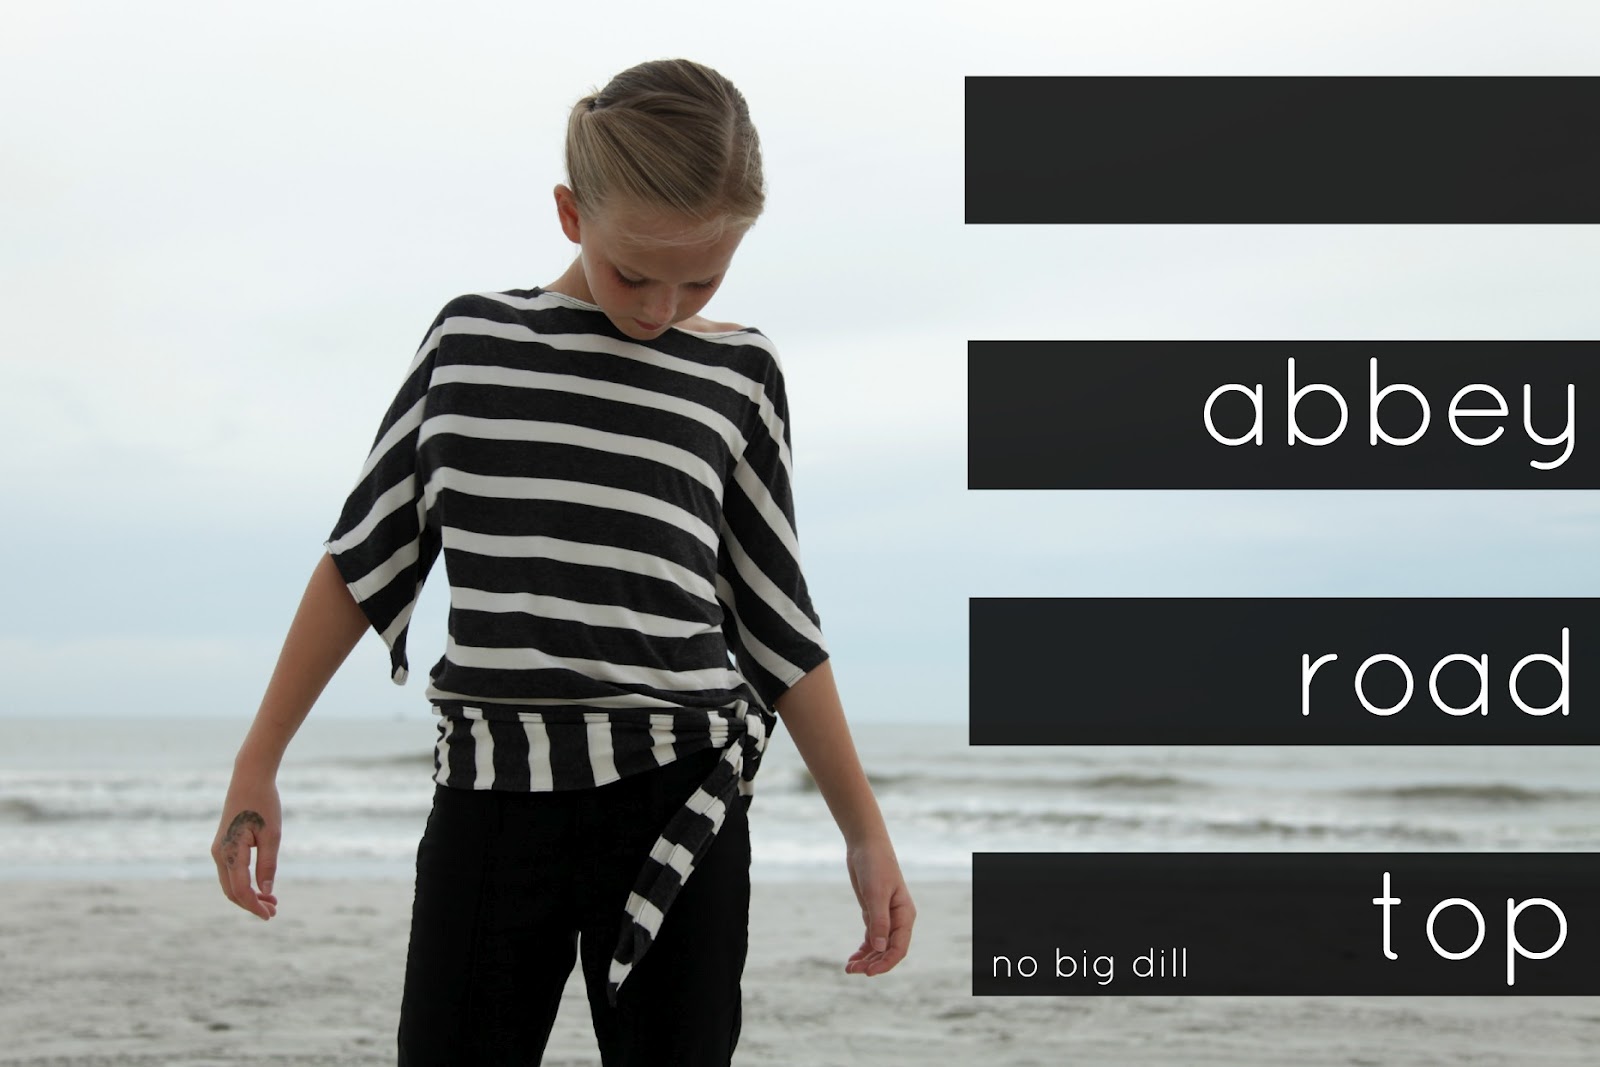
I'm so pleased to be here at Family Ever After and honored that Rach considers me a "sewlebrity". I was originally going to make this for myself, but then I thought it would waste less fabric if I made it for one of my baby dills and it didn't turn out, but now I'm jealous of her top! This is a simple, flowy top that works nicely with stripes because of the tie around the waist that goes the opposite direction, but you can really use any knit, or even contrasting colors or patterns.
⚉I started with a t-shirt that fits Divine pretty closely, so I had a good idea of how each feature was going to fit. I cut it a bit wider in the neck to create a boat-neck, slanted down for the sleeves, and folded the t-shirt up a bit to crop it since I knew I would be adding a tie at the waist for more length.
⚉ Stitch along shoulder and side seams (1/2") with right sides together, leaving about 2 inches open on one side for the vent. If you don't have a serger, just use a slight zig-zag stitch.
⚉Cut the tie out as pictured (it looks like a giant, open faced hotdog bun when you lay it out), making it as long as you prefer. I cut mine about 8" wide which translates to being about 3 1/2 inches since you fold it in half and take off another inch for seam allowance.
⚉Turn the shirt right side out and pin tie around waist, right sides together, with the tie center lined up with the side seam without the vent. Fold the vent seam allowances in toward the opposite side of the shirt. Stitch around the hem of the shirt.
⚉Pull tie away from the shirt and then fold it up, in half, again right sides together. Stitch just around the tie ends.
⚉Turn tie right side out and pin the open edge along the bottom of the shirt and stitch in place, making sure you catch the tie on the other side. Stitch around the vent as well.
Here's a closer look at the vent.
⚉Next fold under neck 1/2" and stitch in place. I used my double needle to give it more of a professional look. If you've never sewn with one, go here for more details. To create the hem of the sleeve you will need to fold down the corner tip first followed by the sides. Continue around the entire sleeve and stitch in place. *Optional: I also sewed around the perimeter of the tie, but it's not necessary, it just keeps everything in place a little bit better.
As I was fitting this on Divine, she didn't want to take it off. She said it was the most comfortable thing she has ever worn.
I believe her.
I think I need to make one for myself now!
Thanks for having me, Rach!


You are THE BEST !!!!
ReplyDeleteSo, so pretty! Love this!
ReplyDeleteI'm off to make one for me and one for my daughter! Love this style!
ReplyDeleteWhat a great top! It looks wonderful on your Divine.
ReplyDeleteLove it. She looks great in it.
ReplyDeleteBeautiful! I might even have fabric for this in my stash...my daughter will adore it! Thank you!
ReplyDeleteKatyyyy where are you? We MISS you! :)
ReplyDeletehaha! Thank you, ma dear, for missing me. It's always nice to have a friendly nudge :)
DeleteOh wow! I love it.
ReplyDeleteAdorable.
ReplyDelete