OUT Chapter 3: Laura of Craftstorming
We have a newcomer today to Once Upon a Thread! This is Laura of Craftstorming, visiting from across the ocean! What impresses me most about Laura is that she has only been sewing for 1 year, can you believe it? If you take a peek at her lovely, well organized blog, you'll see her interests are expansive. Her mother was a cake decorator, so she's got some great training behind her baking skills. Indeed, she has an entire tab for just chocolate! She's here to share her fun project from the classic, The Ugly Duckling. Glad to have you, Laura!
✂ ✂ ✂
Hello No Big Dill readers. I am so excited to be joining you all for Chapter 3 of 'Once Upon A Thread'. I love reading with my children and since I discovered the first OUT I find sewing inspiration in nearly every book we read.
I had a lot of ideas for today, mostly from modern children's books. Once I thought of 'The Ugly Duckling' though, it seemed like the only option. This classic fairy tale is a favourite book from when I was little. My mum tells me that I cried when she first read me this book, saying "but why doesn't he have any friends?", but I must have been satisfied by the happy ending as we read it many more times after that. The author, Hans Christian Andersen, suggested that this was the autobiography of his life and rumours that he was the illegitimate son of a Danish prince add other angles of interpretation of the story.
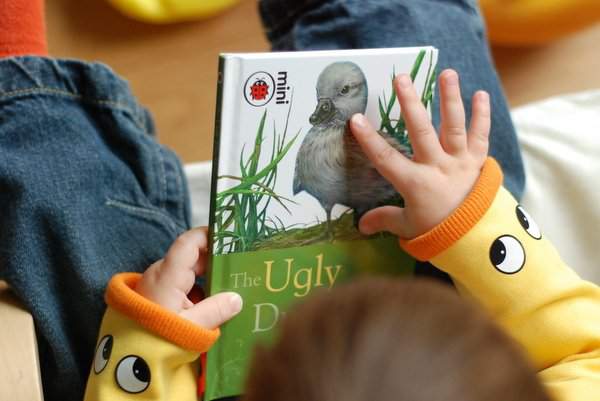
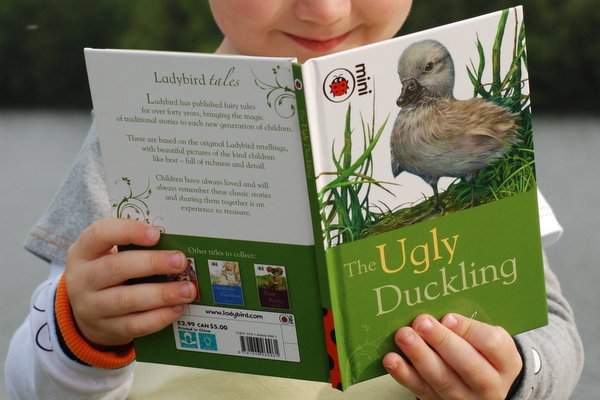
This version of the book is published as part of the Ladybird tales collection and the illustrations are typical of the era when I was first starting to read.
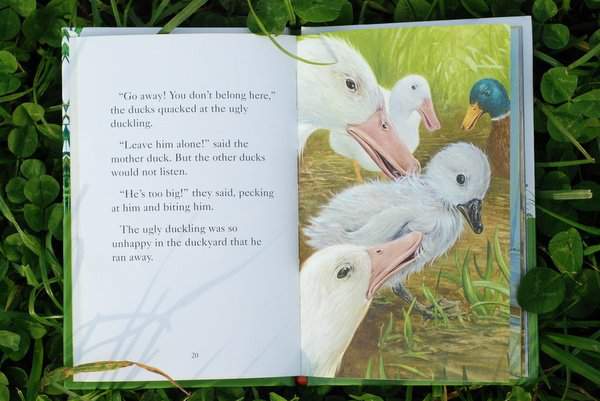
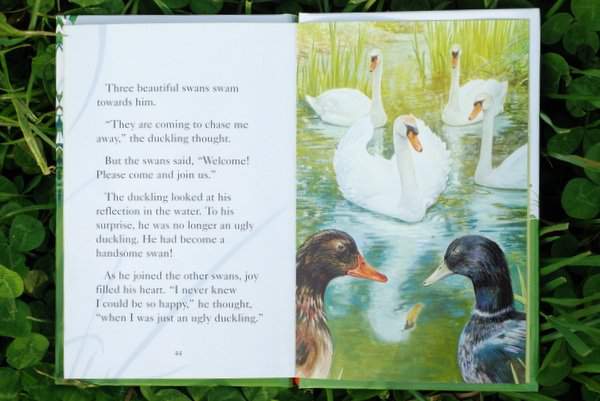
They do a great job of capturing the sadness and longing of the ugly duckling, which I can't imagine was very easy. Apocalyptic sunset anyone?
While they aren't in my favourite style I think there is a certain charm and familiarity to them.
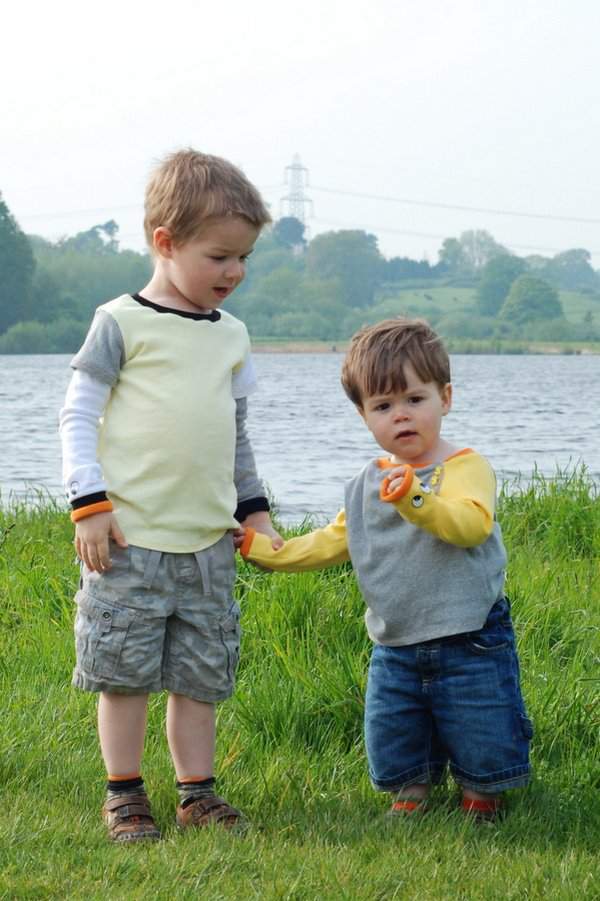
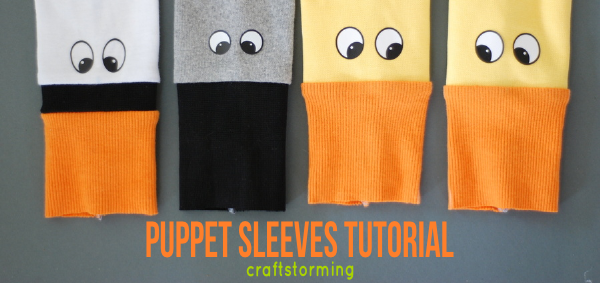
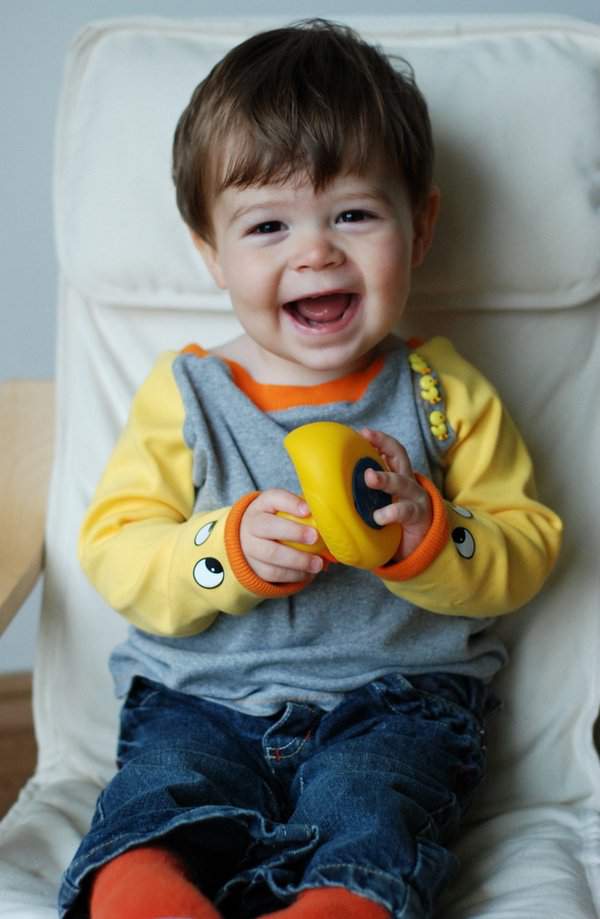
I decided to make something that my children could use to act out the story. At first glance these look like pretty ordinary T-shirts...
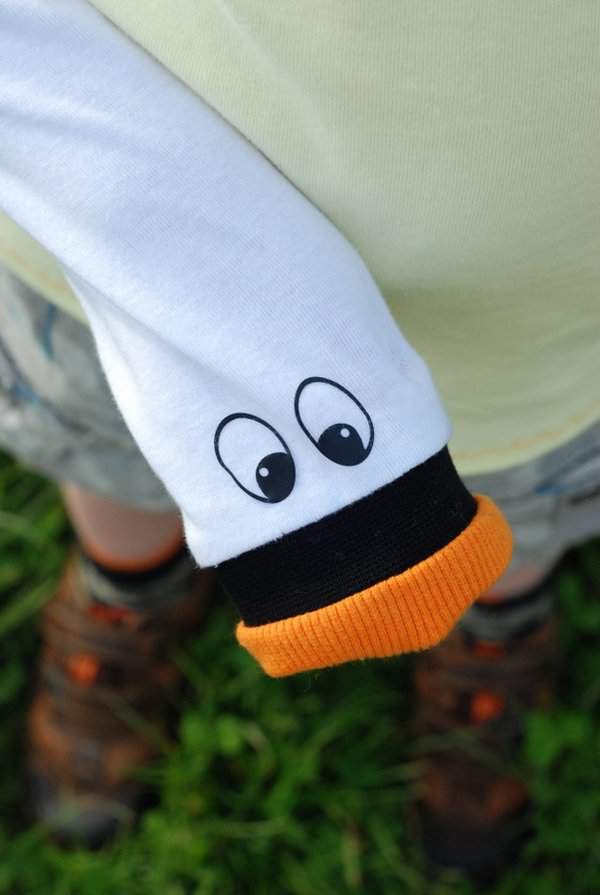
but look more carefully and you will spot the puppet sleeves. The ducklings...
and the ugly duckling...
who turns into a beautiful swan...
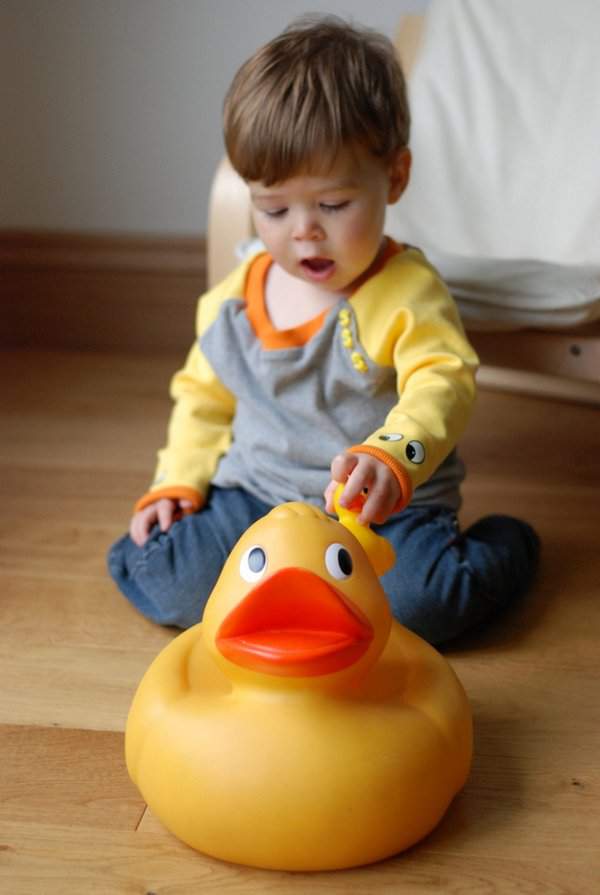
Rowan's duck shirt uses a raglan tee pattern from Ottobre 4/2010 and he has two ducklings at the end of his sleeves. I chose this pattern because of its button placket, which meant I could add three little duck buttons to make up the five ducklings in the story. It's not a perfect fit but Rowan loved it and kept looking at the ducks at the end of the sleeves. He has just started to try and say duck and quack so this one was ideal for him.
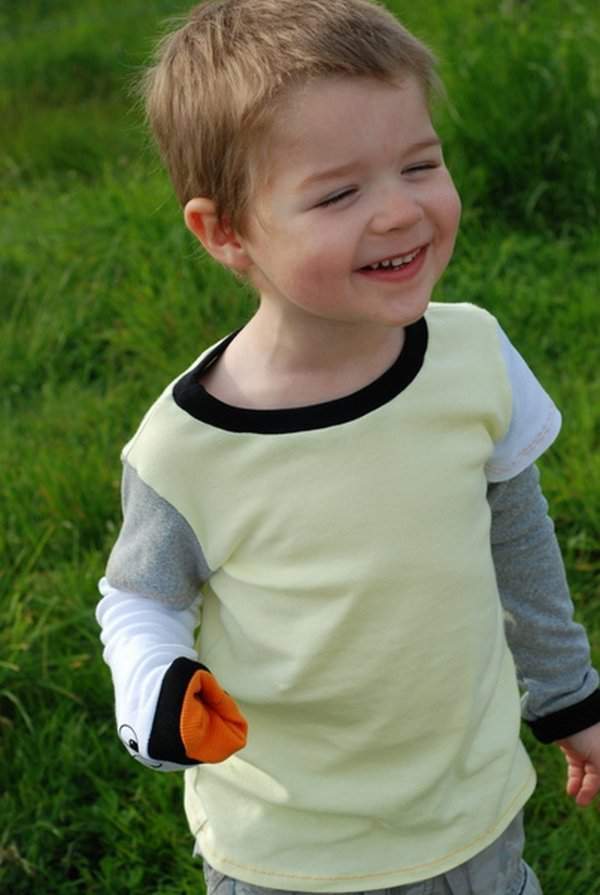
For Casper's swan / cygnet T-shirt I used the 'Flashback Skinny Tee' pattern from 'Made by Rae'. I love this pattern but struggled more with the design of this one initially, as the swan and cygnet are different colours. To balance this out I added some extra short sleeves in the contrasting colour.
These puppet sleeves would work well for many other animals or characters. It is much easier to add the details before sewing the arm seam but would still be possible afterwards if you have a particular shirt you want to use for this. The construction of the cuff is slightly different to normal so here is a quick tutorial...
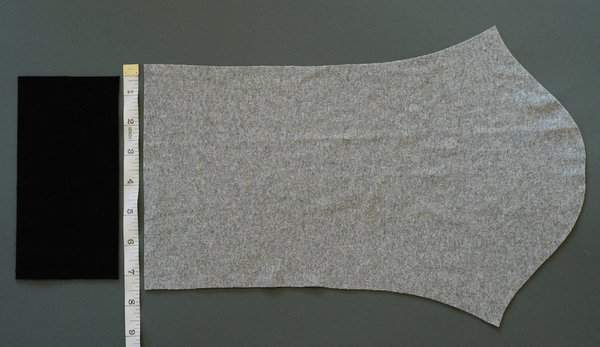
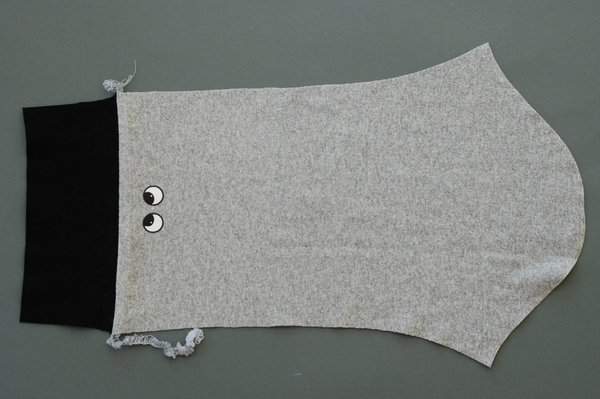
Cut your sleeves as normal. Measure the width of the bottom of the sleeve and deduct ¾" (this is 2 x my seam allowance). Cut a cuff that is this wide and 3½" long. You can see that my sleeve was 7½" wide so my cuff was 6¾" by 3½".
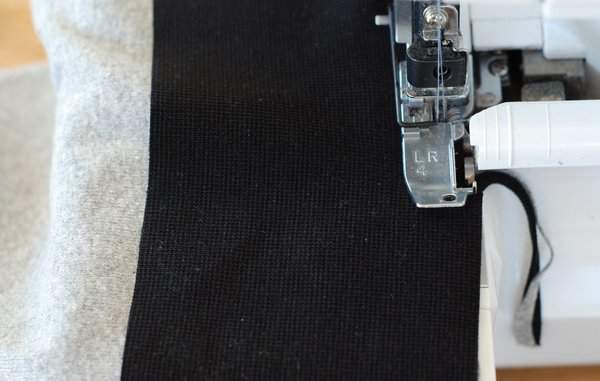
Place the cuff and the sleeve together, right sides facing, and serge or sew (with narrow zig zag or stretch stitch) the cuff to the sleeve. Stretch the cuff to fit as you sew.
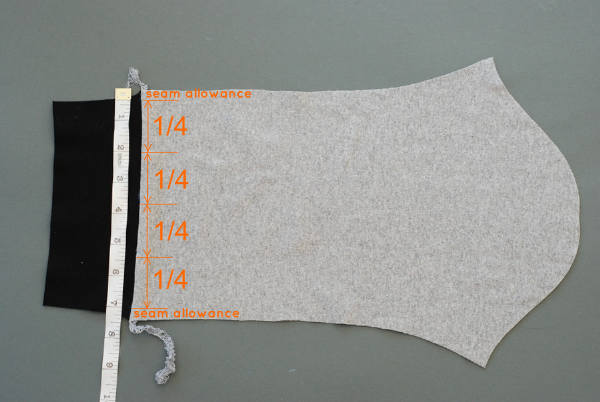
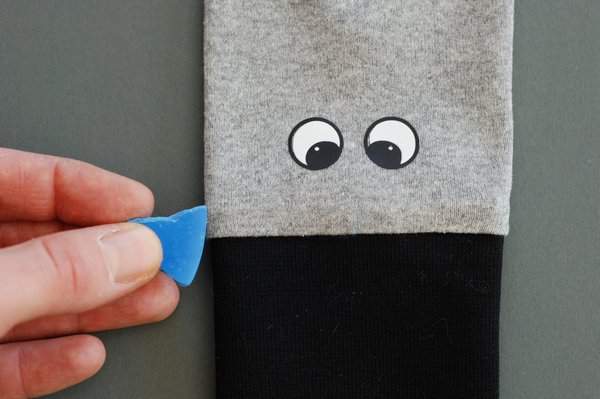
Press the seam then, using tailor's chalk, mark on the seam allowance and divide the rest of the sleeve into quarters. Remember that the details you will see when the T-shirt is being worn are those in the middle two quarters (after deducting seam allowance).
Add the details of your chosen animal. I used my digital cutter and heat transfer for the eyes. Appliqué, embroidery or fabric pens could work just as well though. You could also add other details, like nostrils, ears and eyes.
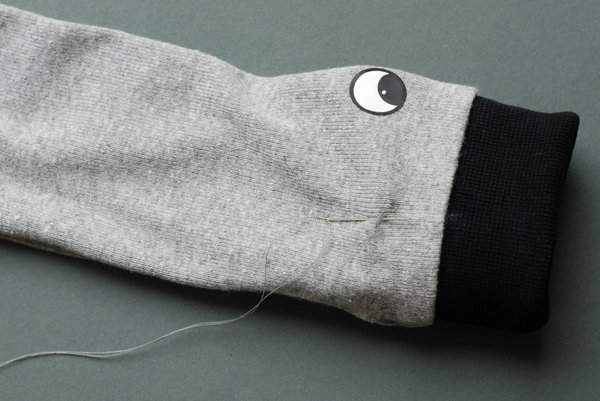
Sew the arm and side seam of your T-shirt as normal. When sewing the arm seam just place everything right sides together, including the cuff. Lay out your shirt with the 'details half' of the sleeves showing. Mark the sides as you will need to sew in line with this.
Decide how far you want to tuck in the cuff. Pin the sides and put your hands inside to check you get the look you're after. Sew a few stitches on either side to join the cuff to the sleeve.
That's it, now your children can have fun playing with their sleeve puppets.
Thank you Katy for having me here today. I can't wait to see what everyone else has made.
✂ ✂ ✂
You quack me up! Those are darling! Nothing like excitifying (you're allowed to make up words during OUT if you didn't know) your kids' clothes. Thanks for coming, Laura.


How adorable! Such an inspirational story, a great project, and adorable little ducklings. ;) Thanks for sharing!
ReplyDeleteWhat I fun idea! I love it.
ReplyDeletePuppet sleeves? So fun.
ReplyDeleteTHat's adorable! Love it.
ReplyDeleteI love this!
ReplyDeleteSo cute!! love this! And there are those little ducky buttons again, I remember them from your KCWC urban sweatshirt!! :)
ReplyDeleteTotally awesome!!!
ReplyDeleteI needed those shirts when my kids were babies. I had one child that would only stop crying if you sang 5 little ducks...so I sang it literally hundreds, perhaps thousands, of times.
Adorable photos.
Omg so cute! My mum used to do this with her sleeves. One was called Slap & the other was named Poke and they'd slap and poke each other, much to the amusement of my sister and I ^_^
ReplyDeleteWhat a clever idea, so much fun.
ReplyDeleteWhat a great idea! My boys are all grown up, but one of these days when I have grandchildren I am gonna have to try this!
ReplyDelete