Showing posts sorted by relevance for query dye. Sort by date Show all posts

25 June 2010

Don't Hate Me Because I Dyed it

A SKIRT!

10 years ago I bid on a big box of trim on ebay.  There weren't any detailed photos of the individual pieces, but I saw a few that I had to have, so I put in my bid.
20 bones won me the box.
With a lot of lace in it.  It was someone's life long collection, some pieces I could tell had been removed from other projects in order to salvage, with remnants of the thread lovingly unpicked.  There are some pieces discernibly handmade.  I love to think of someone careful working with the delicate threads to create such intricate work.  I admit, I'm not really a lace kind of person, but when I was pregnant with Olive, and money was nonexistent tight, I decided to make myself a maternity skirt by sewing the widths of lace together.  I loved it and looked forward to wearing it every time I got pregnant.

So, I decided to make another one.  I envisioned a pale blue one this time and looked up ways to dye the lace naturally.  Cabbage was recommended.  But, alas, it didn't work.  It made my kitchen smell like sauerkraut, but that was it.  Beet juice was another attempt [we had beets 3 days in a row, which Azure will now eat because it was told to her by a very reliable source that eating beets makes your eyes sparkle] but it made for something WAY too pink.


[before]

I ended up using regular old RIT dye.

It was nerve wracking to put all that lace in a pot that would change it forever.  I knew that the varying contents of each piece would accept the dye differently and looked forward to the outcome, so I took the plunge.

It recommended using 1/2 the bottle.  I used 1/4.  It recommended leaving in for 30-60 minutes.  I left it in about 5 minutes and pulled it out, rinsed it and was pleased instantly with the results.  I also died the slip fabric that goes under the skirt.


It shrunk a bit in the hot bath, so it's tighter than I originally planned--thank goodness lace has some give.


This top piece of lace was hand made and stretches a lot.  I love the zig zag of it.


There were three pieces that are blatantly 100% synthetic and accepted none of the dye, but I'm really pleased with the overall affect. 


Ryan wondered if I could walk in it.  Yes.  Sitting down....I have a new appreciation for the give of lace.


28 September 2011

Chocolate Delivery Tutorial

I will be bringing home my guest post tutorials over the course of bringing home my baby.

I've used this technique on two skirts and one of my Project Run & Play entries.  I think it's the unknown result of dying the different laces that keeps me coming back.  Now I just need to discover some more lace ;)

* * *


First, the chocolate buttons:
I looked for an enamel paint to paint my buttons, but found that Revlon Espresso 840 nailpolish was the perfect shade for chocolate.  It covers really well, and most my buttons just needed one coat.  
It makes it easier to paint both the top and sides at the same time if you hold it stuck on a toothpick, blow on it a little bit before setting it down, preferably on a plastic surface, not paper towel. 
For the decorating I used a red shade of nailpolish and the end of a toothpick to paint the detail work.  I also added some red, very fine glitter on some of them.  Add some clear nailpolish where you want the glitter to stick and then apply glitter.  After that coat dries, add another coat of the clear to keep those sparkles in place! 

Next:  The Chocolate Delivery Lace technique:
 This is the story of a mound of lace who was in need of a bigger purpose than a simple strand of trim.  
Prewash and iron your lace.  Lay every single pattern piece out, so you may need to cut an additional sleeve, or bodice piece if you are using a commercial pattern [if it says: CUT 2, then go ahead and cut an additional piece.]  If the pattern piece says CUT ON FOLD, trace out both sides so you have a single, entire piece.  Mine is an original pattern, but you can really do most any pattern you like using this technique.
 Lay your lace on top of your pieces, lined up, so they will match at the seams when you get it sewn together.  Figure out how you want to arrange your laces, but don't start cutting yet.  Overlap the lace with the next one just a little bit.  You may want to add one more at the bottom, just in case you sew them together more overlapped than you lay them out.  Make sure you have enough of each lace trim for all of your pieces.  I miscalculated on one of my strands and had to substitute another piece, but you don't want to risk it!
 Next, cut your lace and inch larger than your pattern pieces.  Give yourself a little wiggle room in case of shrinkage or lace that likes to maneuver.  Put a piece of double stick tape down the entire piece of each pattern and press your lace in place, so you can transfer it next to your sewing machine without them all falling out of place.  Remove one piece of lace at a time from the pattern piece, and use a slight zig zag stitch, with your lace overlapped enough that your stitches are catching both pieces as you go.  Use a thread that is close to the color you are dying your lace.  Repeat with each piece of lace.
 Get your lace wet, and prepare the dye bath.  I just do mine on the stove in a large pot.  Experiment with  a scrap before you put all that lace in.  It's quite exhilarating!  Include any other piece you might add to the dress:  I dyed single pieces of lace that I was adding to the sleeves and around the neck.  
 Follow the instructions on the dye package.  Adding salt helps the fabric to absorb and keep the color.
 The lace will be lighter than what it appears in the dye solution, so dye it darker than you think you want it.
 Rinse the lace in hot water until the water runs clear.  I admit I rinsed and rinsed and rinsed and it was always a pale pink.  So I would suggest when you wash the garment after you complete it, to wash it alone, in case of color transfer.
 I laid my lace out on a towel to dry and shape.
Next cut your lace exactly to the size of the pattern, along with lining.  I originally dyed and cut this lining, but it was too pale, so I actually used some red silk to line it instead.  One other hint I don't have a picture of is I added some sturdy ribbon to the back of each side of the placket.  This helped with the stability of the buttonholes and the buttons.  You can't use interfacing since it will show.  
No arsenic here, just old lace!

* * *
You can see the original post here.

17 May 2012

Tagged! diy size tags

I'm super duper excited about the possibilities I've discovered.  Perhaps even super duper shmuper excited.  You see, I've been giving away the clothes that Clover has outgrown...because there's a boy next who would not appreciate wearing dresses.  At least he won't in the future, he might not care so much right now.
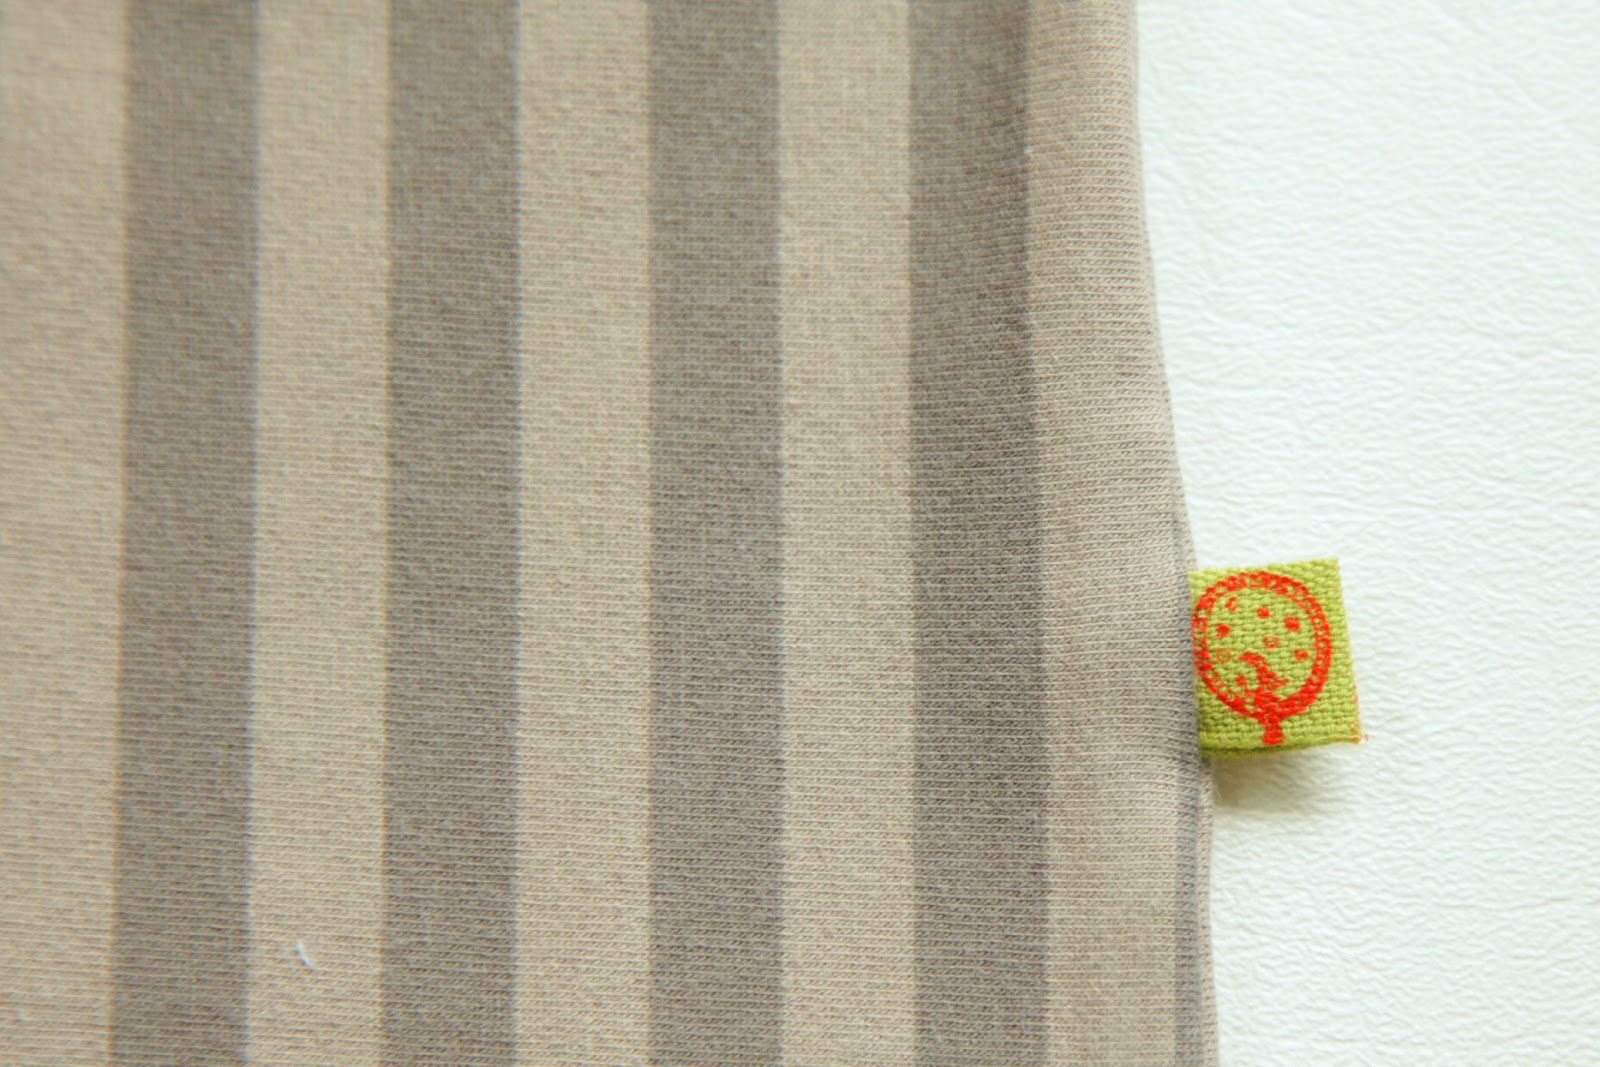
And while I can probably tell you the size and for whom I made the clothes, passing them onto someone else might cause them frustration to try to figure it out.  So, I decided (from here on out--there won't be retroactive application, sorry) to add size labels...and then I just couldn't stop myself.  What else can I use these for?  I know there's something genius you guys will come up with.
I got my cotton ribbon from my mom and dad's etsy shop (which is doing fantastically, so much so that we kind of laughed at the sad state of mine, which I'm hoping to remedy one of these days, sigh).  They have 4 different sizes, so I asked if I could play with some and they sent 'em my way.
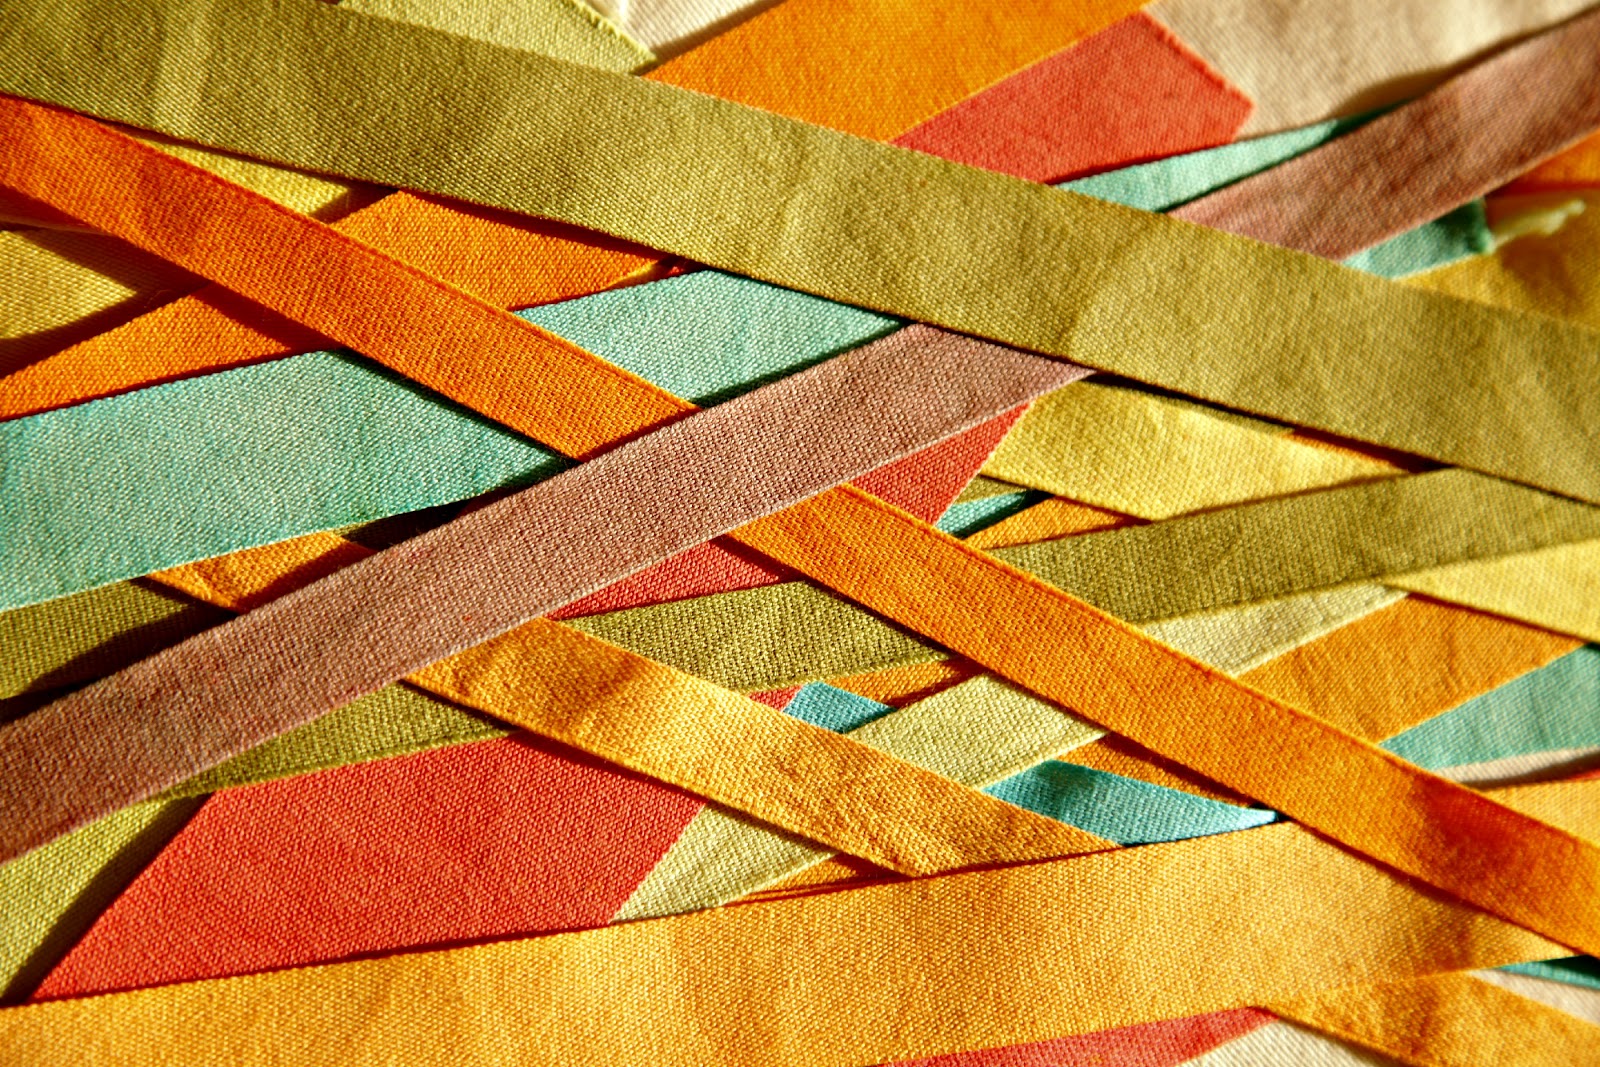
I started by dying it.  In fact, I might have gotten dye-happy because by the end I was mixing this color with that, sprinkling in a bit more powder here and there.  I also might have gotten carried away with the orange.  What?  There aren't 3 slices of orange on the color wheel?
*I made most of these by washing the tape first in the sink with soap, which helped to absorb the dye more quickly, but then made a few without washing it and it accepted the dye more slowly, but more evenly, so experiment. Also, these are more finely woven than regular twill, which gives a more even stamping surface.
When I called my dad to see what kind of ink pad he used on his ribbons he told me and I asked if it needed to be set with an iron.  He began reading the back...works on paper, plastic, wood, leather, elephant tusks...do not use on fabric.  Dad!  So, I set out to find something.  
I went to Hobby Lobby and asked those ladies.  Those ladies who know their aisles like the back of their price gun.  I told her what I was looking for and she said we just got a new product in!  She walked me to the display, much faster than I had anticipated, my little ones had to run.  Now, I can't vouch for these, they're new, you know, and I've never tried them.  Thank you, Hobby Lobby lady, you are the best.
*those of you not near Hobby Lobby, here's another brand online.  It's a couple dollars more, but they have a huge selection of colors...nobody seems to have orange :(
I pulled out my little alphabet stamps (which I think I got from the dollar spot at Target one day, but you can find them at craft stores) and anything else I thought would be lovely dipped in ink and went to work.
I'm still coming off an ink pad high.  
Make sure you lay your ribbon on a hard surface before stamping.  And yes, it does tell you to set the ink with an iron, wuddoyouknow.
If you're planning on making more than one, iron before you cut them up.
Just fold the ends under and stitch in place.  I didn't have any number stamps, so I had to spell it all out.


I set up a little cutting station with magnets on a magnetic strip and the cutest little pair of scissors I've ever seen on a hook.  I'm expecting them to disappear any day, all these little hands around here, they're so cute.
*the scissors were a gift from my mom, but there are some here that are similar.
You can also put little love notes inside the clothes you make, using the wider ribbon.
Or sticking out of the seam:
You don't even have to stamp it, if you don't want, it would look cute just plain, as well.
I think I might just label everything now, including my children, so I can finally get their name right when I call them.
That might be the shmuper part of my excitement.

Tag.

You're it.

12 February 2011

Chocolate Delivery

Valentine's themed Project Run and Play: 
Doilies and Chocolate
This has got to be the most enjoyable photo shoot I have done with this kid.
Clover couldn't believe that I was going to let her eat that giant chocolate bar.
Cooperation was above average.  Nice.
I sewed rows and rows and rows and rows of cream and white lace together.
I then debated whether to dye it red or pink.
I chose red, but some of the more highly synthetic lace didn't accept the dye as well and turned pink anyway.
Finally...

I painted some glass and some plastic buttons to look like little chocolates to line her back.  
I thought they were real, sitting on this plate, several times during the week.

Sneaking some bites while I snapped shots of the back.

Worth the wait.

Go and vote for your favorite look!

---------------------------------

Tutorial now found here!